
A step by step guide to installing bike lights makes it simple to equip your bike for any ride. In 2026, bright bike lights are essential for safety. Many city roads and rural areas stay dark at night, so proper lights help keep riders visible.
Modern helmets, locks, and lights have changed how cyclists protect themselves and their bikes. If you recently bought new lights or want to replace older models, this guide helps you install them the right way. With easy instructions and tips, you’ll be ready to ride safely anytime.
Cycling gear is more advanced than ever, but the true power of bike lights comes from correct setup. Below, you’ll find what you need to know before starting.
Choosing the Right Bike Lights for Your Helmet and Bike
Before starting the step by step guide to installing bike lights, choosing the right lights is crucial. Not every light fits every bike. The right model helps you stay visible and meets local laws. Veja tambem: Best Practices for Locking Electric Scooters: Secure Parking Tips.
In fact, the National Highway Traffic Safety Administration (NHTSA) recommends white lights for the front and red for the rear to ensure visibility at up to 500 feet for night riding. This is the legal minimum in many areas. Therefore, understanding the differences in light types helps you decide what’s best for your ride.
First, consider where you ride. For city cycling, lightweight USB-rechargeable lights are popular. They’re easy to mount on both handlebars and helmets. On the other hand, if you ride off-road or on dark rural roads, you’ll need a more powerful light. High-lumen models with wider beams show you hazards sooner.
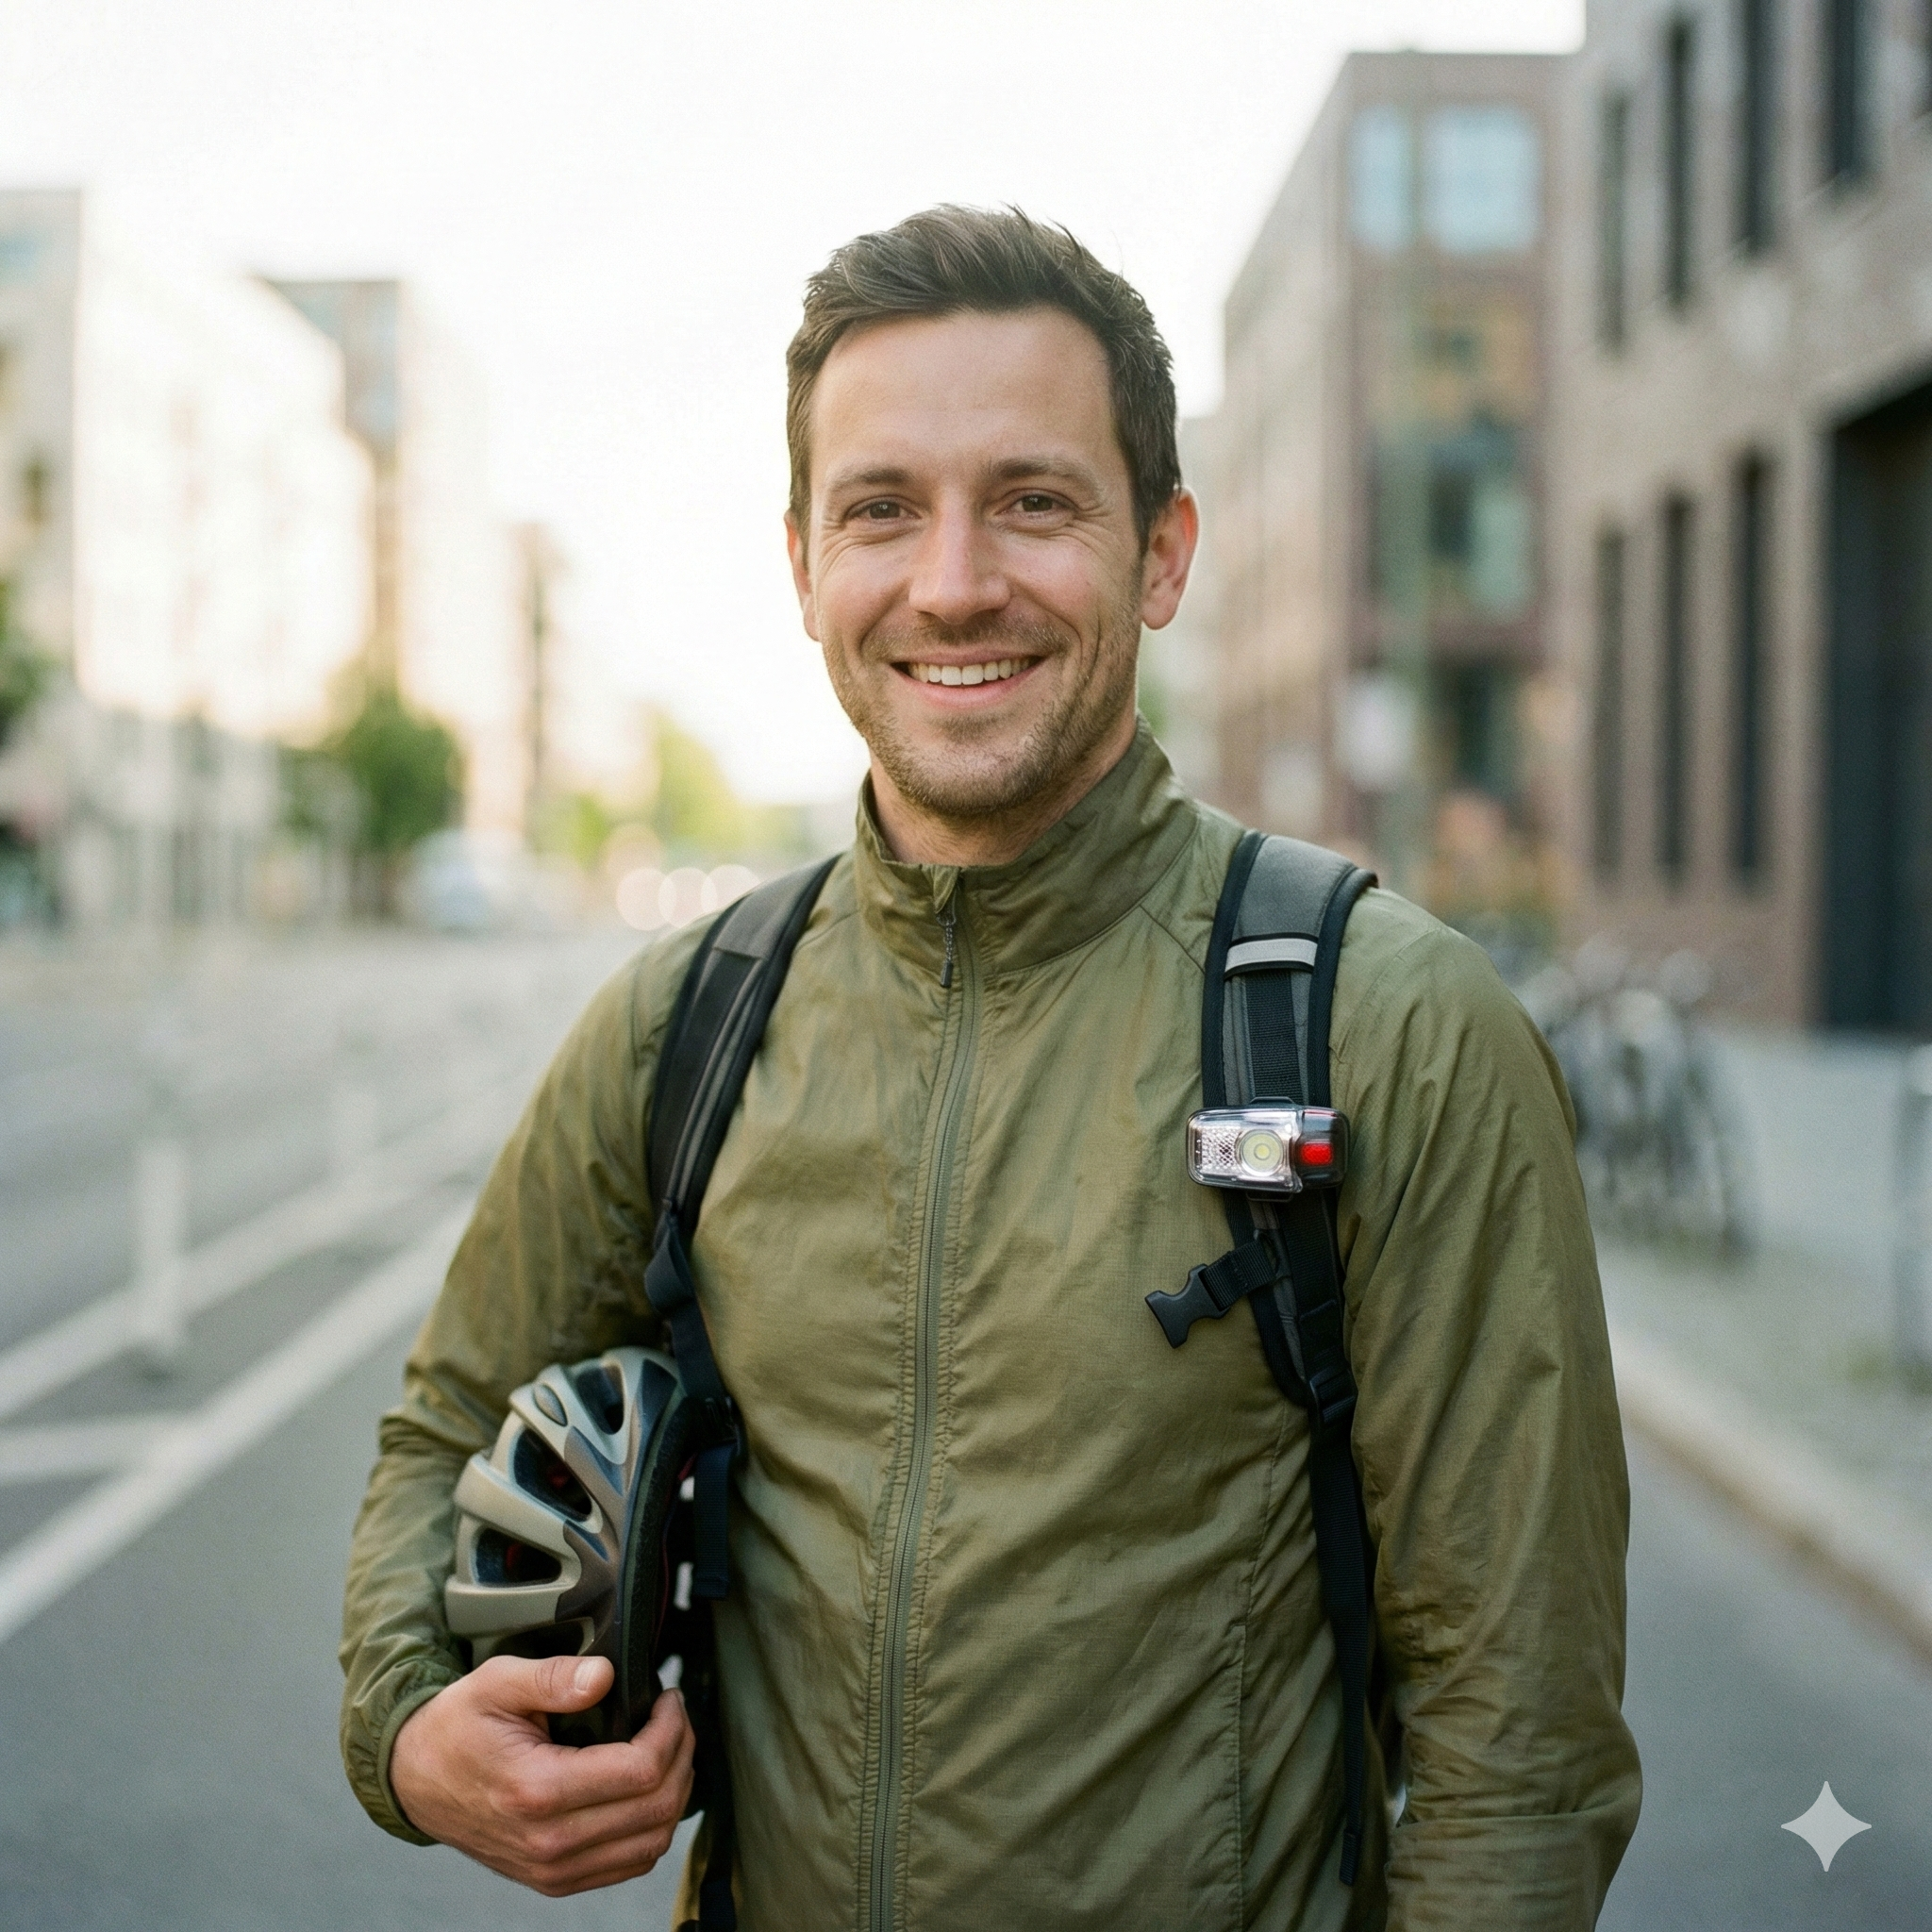
Additionally, consider helmet-mounted lights. These boost visibility from your head’s height. This makes it easier for drivers to see you, especially when you look around at turns. Many cycling safety experts recommend using both helmet and bike-mounted lights for the most effective visibility.
Choose lights with easy mounting systems. Rubber straps and quick-release mounts allow for fast installation and removal. Therefore, you can quickly charge the lights or move them between bikes.
Check your lights for waterproof ratings. In 2026, most high-quality lights use an IPX4 or higher rating. This means the units resist rain and puddle splashes. This is especially important for daily commuters.
Don’t forget the battery life. Longer rides need lights that can last several hours on a charge. As a result, rechargeable lights often outperform those using single-use batteries.
Check out more detailed guidelines from REI’s bike light buying guide for model comparisons and current recommendations.
Preparing Your Bike and Helmet for Light Installation
Preparation is a key step in this practice. Before you open the package, make sure your bike and helmet are ready for new lights. This helps you avoid problems during installation.
First, clean the spots where you’ll attach the lights. Use a soft cloth to remove dust or moisture. Lights stick better and stay secure on clean surfaces. In addition, inspect your handlebars, seatpost, and helmet for any cracks or loose parts. Mounts will not hold well if surfaces are damaged.
Next, review the mounting hardware that comes with your lights. Most modern lights include flexible rubber straps, plastic brackets, or claw-style mounts. Identify the type you have. Then, check your helmet or handlebars for correct spacing. Some helmets with many vents are better for certain mounts than others.
After this, charge your light units to full power. Most manufacturers ship lights with some charge, but it’s best to start with a full battery. This ensures the lights work throughout setup, and you can test brightness immediately. Plug the lights in and wait until you see a “fully charged” signal, which might be a solid green light.
Therefore, you should gather all needed tools in advance. Although many light models claim to be tool-free, some brackets require a screwdriver or Allen wrench. Keeping tools close saves time.
In summary, well-prepared equipment and tools make installation easier and faster. Taking these steps ensures the rest of the process goes smoothly.
Checking Laws and Local Rules
While you prepare, check your area’s bicycle lighting laws. For example, most U.S. states require front white lights and rear red reflectors or lights at night. Some cities need side reflectors. Knowing local rules prevents fines and improves safety. See NHTSA bike safety laws for more details.
Step by Step Guide to Installing Bike Lights
Now you’re ready for the step by step guide to installing bike lights. The process is simple, but each step matters for a safe and secure setup.
Mounting the Front Light
Start with the front light. Most cyclists mount it on the handlebars, but some prefer the helmet for extra visibility. Here’s how to do both:
- Handlebar Mount:
- Place the bracket or strap around the center of the handlebars.
- Tighten the strap or screw until the mount does not move.
- For rubber straps, stretch firmly but do not over-tighten.
- Slide or snap the light into the bracket. Adjust the angle to face straight ahead.
- Turn on the light to check the beam path. Aim slightly downward to prevent blinding traffic.
- Helmet Mount:
- Find a flat spot or use a vent for the mount.
- Attach with sticky pads or Velcro straps, as provided.
- Loop straps through the helmet vents securely.
- Attach the light and check the beam direction.
- This approach keeps light where you look, which is helpful at night.
- Seatpost or Seatstay Mount:
- Place the mount on the seatpost or lower rear frame.
- Secure with the strap or bracket, ensuring it sits level.
- Press the light into the mount. It should not wobble.
- Turn on the light. It should face straight back.
- Helmet Rear Mount:
- Attach a small red light to the helmet’s rear using Velcro or clips.
- Test to make sure it is visible above backpacks or hoods.
Mounting the Rear Light
Next, focus on the rear light. This is usually red for visibility to other road users.
Align, Test, and Secure
After mounting, check all lights for the correct angle. Turn on each light and make adjustments so drivers see you from a distance. Press each mount to double-check security. If any light feels loose, tighten or reposition the mount.
Because of this careful approach, you limit the risk of lights slipping or failing during a ride. In fact, a well-secured light system is one of the most important bike safety upgrades.
Regularly test the on/off switches and light modes (steady, flashing). Some riders prefer flashing modes for better daytime visibility. Check local rules about which modes are allowed.
Maintenance and Safety Tips for Long-Lasting Bike Lights
Installing bike lights is not only about mounting. Keeping them running requires basic care and regular checks. In addition, frequent maintenance extends the life of your lights and keeps you safer.
First, clean the lights after rides in wet or muddy weather. Wipe the lenses with a cloth. Mud and debris can block light and reduce brightness. If water enters the light body, dry it quickly and check for damage. Current IP-rated models resist water, but it’s still good to inspect them.
Second, check battery levels often. Rechargeable lights usually last 2 to 20 hours, depending on the mode. In other words, don’t wait for the light to die during a ride. Set a reminder to charge them every few days or after long rides.
Many modern lights alert you with a change in LED color when the battery runs low. Pay attention to these signals. For riders using replaceable batteries, carry a spare set.
In addition, test the mounts at least once a month. Bumps in the road can loosen straps or screws. Feel for any play in the mounts and retighten if needed. For helmet lights, straps may stretch over time. Adjust or replace them when they feel loose.
Upgrade your bike lights if they seem dim compared to new models. Technology advances every year. As of 2026, high-output LEDs are brighter, last longer, and use less power. According to recent cycling safety studies, using newer lights with wide beams can reduce accident risk by up to 30%.
Finally, always keep a backup light on hand for night rides. Small, portable “beacon” lights can clip to bags or clothing as an extra precaution. This practice can make a big difference if your main lights fail.
Integrating Bike Lights Into Your Helmet, Lock, and Security Routine
Bike lights do more than help you see. They’re part of a wider security and safety plan alongside your helmet and locks. Therefore, integrating lights with other gear makes you smarter and safer on every ride.
Start each ride with a quick gear checklist. Check helmet fit and make sure its mounted lights work. Examine your lock and carry it with you. Decide where you’ll store extra lights or batteries in case you need them.
Some locks and helmets in 2026 come with built-in light mounts or even integrated lights. If your helmet has a designated spot, use it. These designs improve balance and keep the light in the right position. Bike locks may have reflective strips or places for clip-on lights—great for boosting night visibility in low-light parking areas.
Make night rides safer by planning your route. Stick to streets with streetlights when you can. In poorly lit areas, rely on both your helmet and handlebar lights. Bright lights help you see obstacles and make it easier for drivers to spot you.
Additionally, combine reflective gear with your lights for full 360-degree visibility. Reflective ankle bands, bags, and helmet decals attract even more attention from vehicles. According to bike safety studies, combining lights and reflectors cuts crash risk by up to 50% at night.
Remember, the safest setups always use more than one light and combine several security practices. This holistic approach keeps you and your bike safer, discourages theft, and ensures you are ready for whatever conditions you face.
Conclusion
Installing bike lights is one of the simplest upgrades you can make for cycling safety. This step by step guide to installing bike lights walks you through choosing, mounting, and maintaining your gear. When you pair lights with your helmet and lock, you boost both your security and safety at any hour.
Remember to check your lights and mounts before every ride. Charge batteries, clean lenses, and inspect mounts monthly. Add reflectors and backup lights for extra protection. Following these practical steps from start to finish means you can focus on enjoying the ride—day or night.
For more cycling gear guides and safety tips, visit iloanxo.com’s Helmet, Lights & Lock resources, and keep your rides bright and secure.
Leave a Reply